1592 阅读 2020-03-16 15:31:16 上传
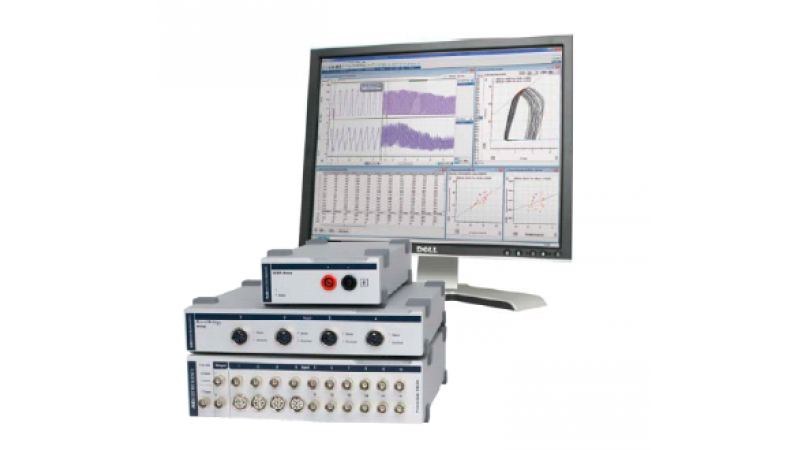
So today we are going to do one of our most complicated setups for power lab.There's a number of steps and some important instructions to follow.So as long as you follow the instructions, you'll be okay.So we're gonna start out with our typical setup, plugging inour power cord,and then also the USB cord,AD instruments PowerLab box. So once that's hooked up that way.I'm starting to hook up the USB to the front of the computer,And then I'm going to,put the power cable up there.And At this point the lights are not on,So when I'm ready I will turn the switch on.First thing we wanna do is hook up our spirometry pod,and this pod is going to need to warm up for 10 minutes,So i'll hook up this flow head,rather delicate,They can get damagedAnd it's kind of an odd setup,So you're not just pushing this on here.You actually need to twist it about a quarter turn counterclockwise.And thentwist on there. So it is kind of screwing on.The Challenge is really that there can be some tension on this hose,and that will make it more difficult to set it up properly.and to get it on there ,So it stays on there,It doesn't want to twist off on you.So once that's out, I'm going to start this up.And this parameter repot will need to warm up for five to 10 minutes.We already warmed it up, so there was no need to wait and do that again.So we are basically ready to set upthe connection that will go out to our subjectSo this is a new motech or a flowhead,And this is reusable device,that we don't want to. But going out to our subject, we need tomake a connection. Sothey have a nice ,dis infected system to breathe through and put their mouth on.So the adapter is going new on the fluid like that.It doesn't matter which side When you first set it up we can make the adjustments, one of these sides of the purple filter is going to fit snugly,on that side. And then finally, you'll put the mouth piece in right here like this.So this at this point is set up for our subject.This is a single use for each subject,if we are switching out the subjects we want to switch out everything from this purple or blue adaptor back.And this is going to get dis infected incap aside.This is the liquid that we used this in fact reusable items.a video for you to have available to check out too.So it gets used with most of our equipment.Now,the last piece that we need is the nose clipsIf I'm trying to do this breathing exercise and I don't have the nose clips on it's not going to work Right in between.So this point everything is set up My power lab is on,and I'm going to type in respiratory.So It's so respiratory settings,we're gonna click that. And the lab chart software will open up.And then I can see I have a nice green little star button,and at this point,what I will do is I will zero my flowhead,flow channel pop up menu right here,Click spirometry pod,And then I'm moving to zero that so I want to make sure that none of my lab partners are playing with that at the time,and we're going to zero. And as long as it's not moving, we're zero that,and we can click. Ok.Now we do want to check that this is getting us the deflection of the right waySo y x l there should be a downward deflectionWhen I inhale there should be an upwards deflection so i'll xl first and then inhale second.Ok. So this is actually,when I xl one up when I inhale one down,and that will fix this.The other fixed for that is to switch this blue adaptor to the other side of the floatEither one works equallyWell So let's check that Again Again I'm going to Excel first and then inhale second.Ok. So that's the deflection we want.We're all set up to go into the next part, which is a calibration.So Now for the calibration,I am going to go into spirometry flowandherewhat I need to do is, before I start this, I'm going to need to do a minute of quiet breathing,So just normal breathing,I'll start out with a large xl and then start breathing from a minute.Okthat wasn't a minute, but for our purpose, obstruction to that So is it ok,At this point I was going to click stop.And Now I go back into the spirometry flow area.I am going to choose the flow head that we're using here,and then I'm going to click calibrate,andokso now i've calibrated this, and everything should be okay,now I will go in and I'm going to go into spirometry volume.And here what I'm going to do is,click the check that I'm using the flow channel.So channel one,and we're going to click applied volume correction,and make sure thatthe instructions andwhat's input here,is correct in your instructions.It should be 400 milliliters. And your volume ratio should be 1.09.And at that point, we can click. Ok.And Now you've seen that the bottom graph changes,Let's just breathe through this again to see how this works.Ok,So everything looks good to me.As far as this graph does the deflection are going the right way.We're calibrated this, and everything is fitting on the screen for us,there are some adjustments that we can make.And your instructor can help you with those fine adjustmentsAll many times though you may have drift if you did not allow this warm up for at least five to 10 minutes.that might be something that you want to start over with,or giving a little bit of time and try to set up again.And At this point you can proceed on with your experiments.is better.


